Spring 注解
Spring 允许通过注解的方式来配置 Bean、配置 Spring。
一、前置工作
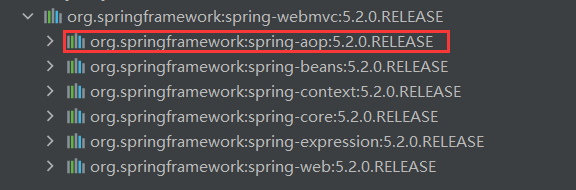
导入 spring-aop:
增加 context 命名空间:
1
2
3
4
5
6
7
8
9
10
11
12
<?xml version="1.0" encoding="UTF-8"?>
<beans xmlns="http://www.springframework.org/schema/beans"
xmlns:xsi="http://www.w3.org/2001/XMLSchema-instance"
xmlns:context="http://www.springframework.org/schema/context"
xsi:schemaLocation="http://www.springframework.org/schema/beans
http://www.springframework.org/schema/beans/spring-beans.xsd
http://www.springframework.org/schema/context
http://www.springframework.org/schema/context/spring-context.xsd">
···
</beans>开启注解功能:
可以使用
<context:annotation-config>或<context:component-scan>,其中:<context:component-scan>用于为 Spring 中的 Bean 对应的类开启注解如果类使用注解,但 Spring 中并没有对应的 Bean,则注解不会生效
<context:component-scan>除了<context:component-scan>的功能外,还会扫描指定包下的类,并根据注解注册对应的 Bean
1
2
3
4
5
6
7
8
9
10
11
12
13
14
15
<?xml version="1.0" encoding="UTF-8"?>
<beans xmlns="http://www.springframework.org/schema/beans"
xmlns:xsi="http://www.w3.org/2001/XMLSchema-instance"
xmlns:context="http://www.springframework.org/schema/context"
xsi:schemaLocation="http://www.springframework.org/schema/beans
http://www.springframework.org/schema/beans/spring-beans.xsd
http://www.springframework.org/schema/context
http://www.springframework.org/schema/context/spring-context.xsd">
<!--开启注解功能-->
<context:annotation-config/>
<!--开启注解功能,扫描包中的类,根据注解注册对应的Bean-->
<context:component-scan base-package="全限定包名"/>
</beans>
二、注册 Bean
1. @Component
表示应该为被该注解标注的类注册对应的 Bean。
1 | |
2. @Repository、@Service 和 @Controller
- DAO,持久层
- Service,业务逻辑层
- Web,表示层
- Model,模型
- View,视图
- Controller,控制器
@Repository、@Service 和 @Controller 是 @Component 的衍生,其中:
- @Repository:对应三层架构中的 DAO 层
- @Service:对应三层架构中的 Service 层
- @Controller:将三层架构中的 Web 层按 MVC 划分,对应 Controller 层
这三个注解的作用与 @component 相同,都代表注册对应的 Bean。
但如果项目进行了**三层架构 + MVC **的分层,那么最好给类标注上对应的注解。
三、作用域
1 | |
关于作用域类型,请参照:
四、依赖注入
1. 基本类型的依赖
在属性或 setter 方法上,使用 @Value 注解传入依赖值
1 | |
2. Bean 依赖
五、配置 Spring
1. 说明
可以完全舍弃配置文件,仅使用 Java 和注解来使用 Spring。
2. 步骤
编写实体类
新建配置类,填写代码如下:
1
2
3
4
5
6
7
8
9
10
11
12
13@Configuration
public class 配置类 {
···
@Bean
public 类名 方法名() {
···return一个对象···
}
···
}获取Spring的上下文对象
1
ApplicationContext context = new AnnotationConfigApplicationContext(配置类.class);获取 Bean
1
context.getBean("方法名")
3. 简单示例
(1) 项目结构
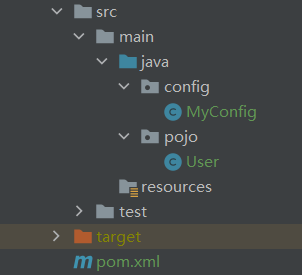
(2) 文件
配置类:
1
2
3
4
5
6
7@Configuration
public class MyConfig {
@Bean
public User user() {
return new User();
}
}实体类:
1
2
3
4
5
6
7
8
9
10public class User {
@Value("小张")
private String name;
// getter and setter
// toString
}
(3) 测试
测试代码:
1 | |
测试结果:

4. @Configuration
用于标识配置类。
5. @Bean
用于注册 Bean,类比 xml 中的 bean 标签。
6. @ComponentScan
填入包名,Spring 会扫描包中的类,根据注解注册对应的Bean。
7. @Import
用于合并其它配置类。